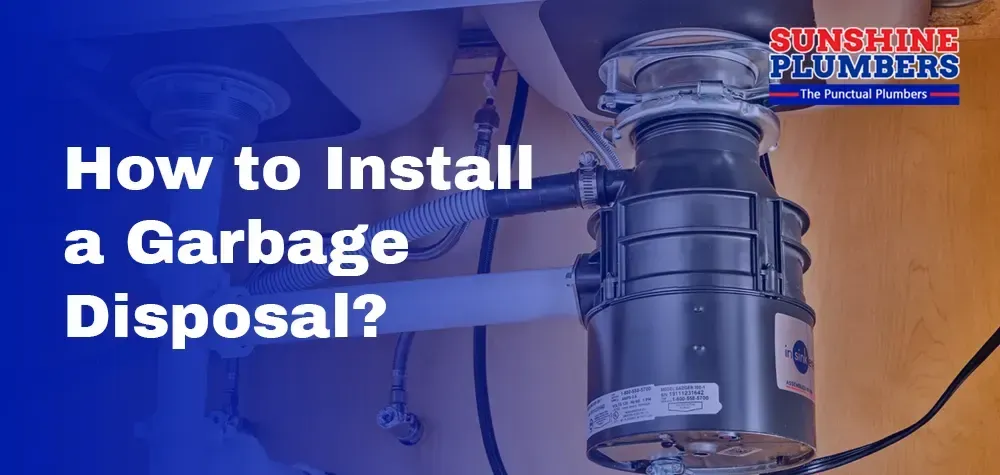
How to Install a Garbage Disposal?
Installing a garbage disposal is a practical and convenient addition to any kitchen, making cleanup a breeze and reducing food waste. At Sunshine Plumbers, we understand the importance of proper installation to ensure optimal performance and longevity of your garbage disposal unit. In this comprehensive guide, we'll walk you through the step-by-step process of installing a garbage disposal, from preparation to testing, so you can enjoy the benefits of this essential kitchen appliance with confidence.
Preparation:
Embarking on the installation of a garbage disposal requires meticulous preparation to ensure a smooth and successful process. Before diving into the task at hand, it's crucial to gather all the essential tools and materials needed for the job. Here's a detailed list of what you'll need:
Garbage Disposal Unit:
The heart of the installation process, the garbage disposal unit itself, is the primary component that will be mounted beneath your sink. Choose a disposal unit that suits the size and needs of your kitchen, ensuring it meets your household's requirements for disposing of food waste effectively.
Mounting Hardware:
The mounting hardware includes the necessary components to secure the garbage disposal unit to the underside of your sink. This typically includes mounting rings, screws, and brackets designed to hold the unit firmly in place, preventing any movement or instability during use.
A wrench is an indispensable tool for tightening and securing various connections throughout the installation process. Choose an adjustable wrench that fits comfortably in your hand and provides the necessary torque to tighten mounting hardware and plumbing fittings securely.
- Screwdriver:
A screwdriver is essential for removing and installing screws during the assembly and mounting of the garbage disposal unit. Opt for a versatile screwdriver with interchangeable heads to accommodate different types of screws commonly used in plumbing fixtures.
The plumber's putty plays a critical role in creating a watertight seal around the sink flange, preventing leaks, and ensuring the integrity of the plumbing system. Apply the plumber's putty generously around the underside of the sink flange before mounting the garbage disposal unit to create a secure seal.
- Electrical Wire Connectors:
For garbage disposals that require electrical wiring, electrical wire connectors are necessary for safely and securely connecting the disposal unit to the power supply. Choose high-quality wire connectors that are rated for use in wet environments and follow the manufacturer's instructions for proper installation.
- Drain Pipe and Fittings:
The drain pipe and fittings connect the garbage disposal unit to the existing plumbing system under your sink. Ensure you have the appropriate size and type of drain pipe and fittings to accommodate the disposal unit and establish a seamless connection with the sink drain and wastewater pipe.
By gathering these essential tools and materials beforehand, you'll be well-equipped to tackle the installation of your garbage disposal with confidence and precision. Remember to follow the manufacturer's instructions carefully and prioritize safety throughout the process to achieve optimal results. If you encounter any challenges or have questions along the way, don't hesitate to reach out to Sunshine Plumbers for expert guidance and assistance.
Installation
Step 1: Turn Off the Power and Water Supply
Ensuring safety is paramount when undertaking any plumbing project, especially when installing a garbage disposal. To begin, locate the circuit breaker that controls the power supply to the area where the disposal unit will be installed. Switch off the power to the disposal unit to prevent any electrical mishaps during the installation process. Additionally, it's crucial to shut off the water supply to the sink to avoid any potential leaks or flooding while working on the plumbing connections.
Step 2: Remove Old Disposal (If Applicable)
If you're replacing an existing garbage disposal unit, start by disconnecting the power and plumbing connections to the old unit. This may involve unplugging the unit from the power source and disconnecting the discharge pipe and mounting assembly. Carefully remove the old disposal unit from the mounting assembly, taking care not to damage any surrounding plumbing fixtures or connections.
Step 3: Install Mounting Assembly
With the old disposal removed (if applicable), it's time to install the mounting assembly for the new disposal unit. Begin by attaching the mounting assembly to the underside of the sink drain opening using the provided hardware. Ensure that the mounting ring is securely tightened to the sink flange to create a watertight seal and prevent any potential leaks.
Step 4: Prepare Disposal Unit
Before mounting the disposal unit, prepare it by removing the cover plate and any packaging materials. Attach the discharge outlet and mounting ring to the disposal unit according to the manufacturer's instructions. To create a watertight seal, apply the plumber's putty around the sink flange before placing the disposal unit into position.
Step 5: Mount Disposal Unit
Carefully lift the garbage disposal unit into position beneath the sink, aligning it with the mounting assembly. Once properly aligned, secure the disposal unit to the mounting assembly using the provided mounting ring and screws. Ensure that the disposal unit is firmly in place to prevent any movement or instability during use.
Step 6: Connect Plumbing and Electrical
With the disposal unit securely mounted, it's time to connect the plumbing and electrical components. Attach the discharge pipe to the disposal unit using the appropriate fittings, ensuring a tight and secure connection. Next, connect the electrical wires from the disposal unit to the power supply using wire connectors, following the manufacturer's instructions and local electrical codes.
Step 7: Test for Leaks and Functionality
Before completing the installation, it's essential to test the garbage disposal for any leaks or functionality issues. Turn on the water supply and check for any leaks around the plumbing connections. Once satisfied with the plumbing connections, switch on the power to the disposal unit and test its functionality by running water and activating the unit. Listen for any unusual noises or vibrations that may indicate problems with the installation.
By following these detailed steps and prioritizing safety throughout the process, you can successfully install a garbage disposal unit in your kitchen with confidence and peace of mind. If you encounter any challenges or have questions along the way, don't hesitate to contact Sunshine Plumbers for expert guidance and assistance.


