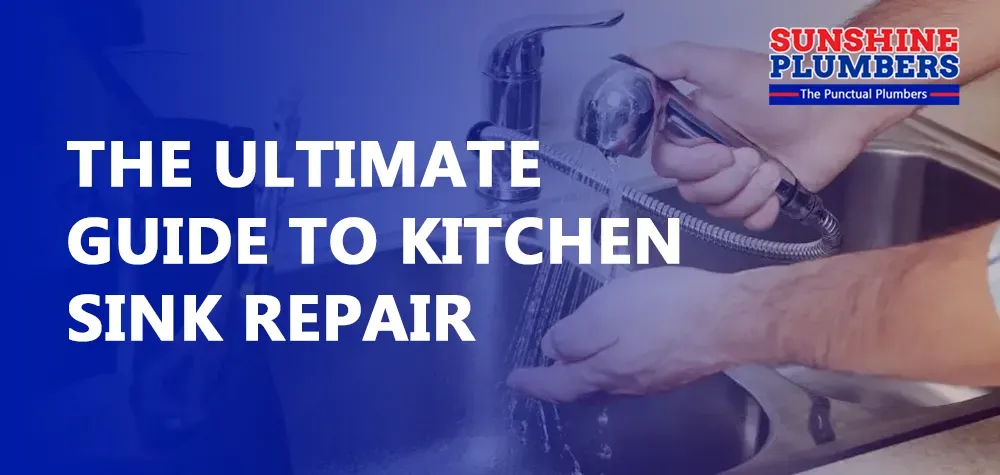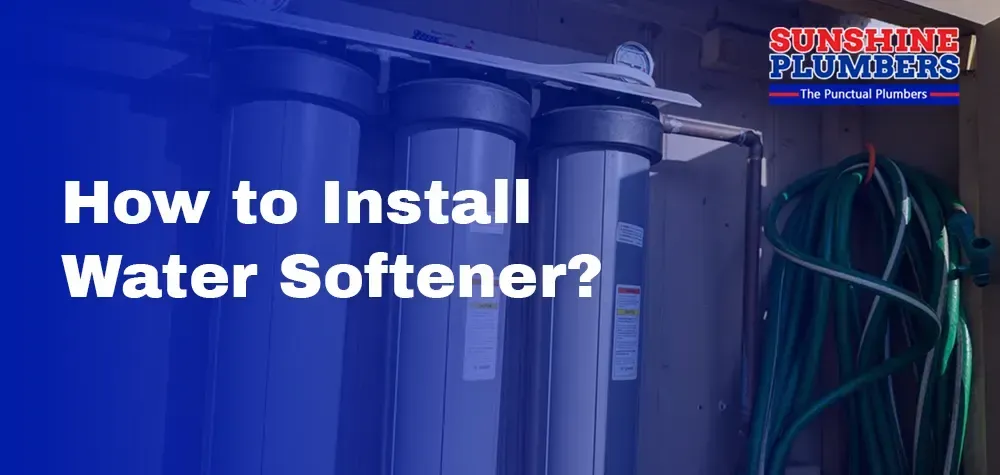
How to Install a Water Softener? A Sunshine Plumbers Expert’s Perspective
Are you tired of dealing with the nuisance of hard water wreaking havoc on your plumbing fixtures and appliances? Installing a water softener can be a game-changer for your home's water quality and overall plumbing health. In this comprehensive guide, the experts at Sunshine Plumbers will walk you through the step-by-step process of installing a water softener, ensuring your water stays soft and your pipes stay pristine.
Understanding the Basics: What is a Water Softener?
Before diving into the installation process, let's take a moment to understand what exactly a water softener does. Essentially, a water softener is a filtration system designed to remove minerals such as calcium and magnesium from your water supply. These minerals are responsible for the hardness of water, which can cause limescale buildup in pipes, appliances, and fixtures over time.
Materials You'll Need:
- Water softener unit
- Installation kit (includes connectors, fittings, and tubing)
- Wrenches
- Pipe cutter
- Teflon tape
- Safety goggles
Step-by-Step Guide
Step 1: Choose the Right Location
Selecting the optimal location for your water softener is paramount to its effectiveness and longevity. Begin by identifying a dry area within your home that is well-ventilated. This ensures that your water softener remains protected from moisture, which can lead to corrosion and damage over time. Additionally, ensure there is ample space around the unit for maintenance and servicing.
Access to a power source is also essential, as most water softeners require electricity to operate. Be sure to choose a location near an electrical outlet to avoid the need for extension cords or complicated wiring.
Furthermore, consider proximity to your home's main water supply line. Installing the water softener close to this line minimizes the length of piping required, reducing the risk of pressure loss and optimizing efficiency.
Step 2: Shut Off Water Supply and Drain Lines
Before embarking on the installation process, it is imperative to shut off the main water supply to your home. This prevents water from flowing into the pipes, minimizing the risk of leaks and ensuring a hassle-free installation process.
In addition to shutting off the main water supply, it is advisable to drain any remaining water from the pipes. This can be achieved by opening faucets at the lowest point in your home, allowing gravity to assist in draining the system. Alternatively, you may use a pump or compressed air to expedite the process. Taking these precautions not only prevents potential water damage but also facilitates a smoother installation by eliminating the presence of water in the pipes.
Step 3: Prepare the Pipes
With the water supply safely shut off and drained, it's time to prepare the pipes for the installation of the water softener. Using a pipe cutter carefully cut into the main water supply line at the chosen location for the unit. Precision is key during this step, as an accurate and straight cut ensures a secure connection between the water softener and the plumbing system. Take measurements carefully and use a sharp pipe cutter to achieve clean, even cuts. Once the pipe has been cut, use a deburring tool to remove any burrs or rough edges. This ensures a smooth surface for the fittings and prevents damage to the O-rings or seals during installation.
Step 4: Install Bypass Valve (if applicable)
Some water softeners come equipped with a bypass valve, allowing you to temporarily bypass the softener during maintenance or in the event of a malfunction. If your unit includes a bypass valve, now is the time to install it according to the manufacturer's instructions.
Step 5: Connect the Water Softener
Now that the bypass valve has been positioned appropriately, it's time to seamlessly integrate your water softener into your home's plumbing system. Begin by carefully aligning the water softener with the main water supply line. Ensure that the unit is securely positioned and that there is adequate space around it for future maintenance and servicing.
Utilize the connectors and fittings provided with your water softener kit to establish a watertight connection between the unit and the main water supply line. Apply Teflon tape to the threaded ends of the fittings to create a reliable seal that prevents leaks. Tighten the fittings using wrenches, ensuring that they are snug but not over-tightened to avoid damage.
As you make these connections, be mindful of any specific instructions provided by the manufacturer to ensure the optimal performance of your water softener. Take your time to double-check each connection, verifying that they are secure and properly aligned.
Step 6: Set Up Drain Line
With the water softener securely connected to the main water supply line, the next step is to establish the drain line connection. Locate the designated drain outlet on your water softener unit and attach a flexible hose to it. Carefully route the drain hose to the nearest drain or utility sink in your home. Ensure that the hose is positioned to allow for proper drainage and avoid any kinks or bends that could impede the flow of wastewater. Once the drain hose is securely connected and properly routed, fasten it in place using clamps or zip ties to prevent it from shifting or becoming dislodged during operation. Proper drainage is essential.
Step 7: Plug In and Test
With all connections in place, it's time to power up your water softener and put it to the test. Plug the unit into a nearby electrical outlet, ensuring that it is securely connected and that the power cord is not damaged or frayed. Once the unit is powered on, allow it to go through its initial setup process, which may involve priming the system and setting the desired water-softening settings. Refer to the manufacturer's instructions for guidance on this process, as it may vary depending on the specific model of your water softener.
After the initial setup is complete, turn the main water supply back on and allow the water softener to begin operating. Monitor the system closely as it cycles through its first few regeneration cycles, checking for any signs of leaks or irregularities. Finally, test the water at various faucets throughout your home to ensure that it is flowing smoothly and that it has been properly softened by the water softener. Adjust any settings as needed to achieve the desired level of water softness, and enjoy the benefits of clean, softened water throughout your home.
For professional assistance with water softener installation or any other plumbing needs, don't hesitate to contact the experts at Sunshine Plumbers. Our team of experienced technicians is here to provide reliable service and ensure your plumbing system is operating at its best. Remember, when it comes to your
home's plumbing, trust the professionals at Sunshine Plumbers to get the job done right the first time. Say goodbye to hard water woes and hello to a happier, healthier home!