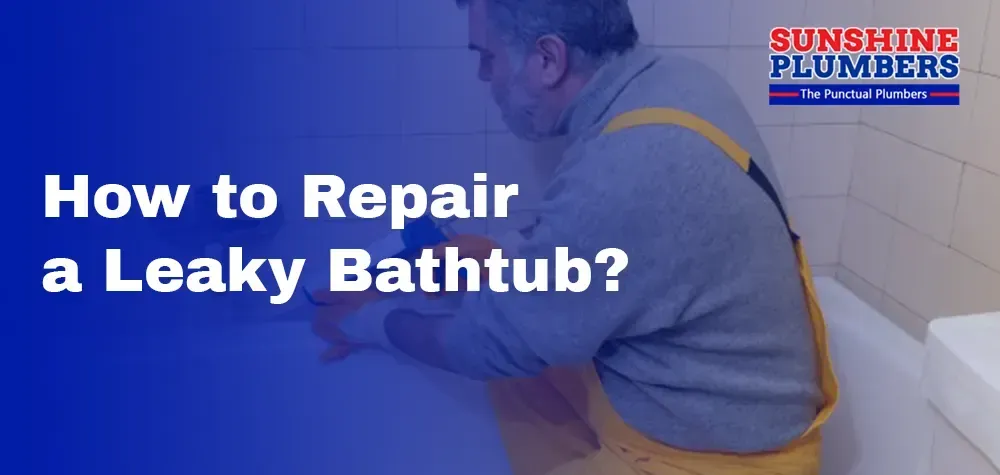
How to Repair a Leaky Bathtub Faucet?
Dealing with a leaky bathtub faucet can be frustrating and wasteful. Not only does it result in annoying drips, but it can also lead to water waste and increased utility bills. Fortunately, repairing a leaky bathtub faucet is a manageable task that can be accomplished with the right tools and know-how. In this expert guide, we'll walk you through the steps to diagnose and repair a leaky bathtub faucet, saving you time, money, and hassle.
Identifying the Problem
Before embarking on the repair journey, it's crucial to pinpoint the exact source of the leak. A leaky bathtub faucet can stem from various underlying issues, each requiring a specific approach for effective resolution. Here's a closer look at some common culprits behind leaky bathtub faucets:
Worn-Out Washers:
- Washers serve as seals between the faucet's valve stem and the faucet body. Over time, these washers can wear down due to constant use, leading to leaks around the faucet handle. If you notice dripping or water seepage when the faucet is turned off, worn-out washers could be to blame.
Damaged O-Rings:
- O-rings, also known as seals, are rubber rings located around the base of the faucet stem. They create a watertight seal to prevent leaks around the faucet's moving parts. However, O-rings can become brittle or damaged over time, resulting in leaks. If you observe water dripping from the spout or around the base of the faucet handle, damaged O-rings may be the culprit.
Corroded Valve Seats:
- Valve seats are metal components inside the faucet body that create a seal when the faucet is turned off. Over time, these valve seats can become corroded or worn, leading to leaks. Corroded valve seats can cause water to leak from the spout even when the faucet is fully closed. If you notice constant dripping or a persistent leak, corroded valve seats may be the issue.
Loose or Worn-Out Packing Nut:
- The packing nut is a component located beneath the faucet handle that holds the valve stem in place. If the packing nut becomes loose or worn, it can result in leaks around the faucet handle. Inspect the packing nut for signs of corrosion or looseness if you notice water seeping from the handle area.
By carefully examining the symptoms and potential causes of the leaky bathtub faucet, you can narrow down the problem and determine the most appropriate repair method. Identifying the root cause of the leak is the first step towards restoring your faucet to proper working condition and preventing further water wastage and damage. Once you've identified the issue, you can proceed with confidence to address the problem and enjoy a leak-free bathtub faucet once again. For all your bathroom plumbing needs, feel free to contact Sunshine Plumbers.
Steps on How to Repair a Leaky Bathtub Faucet
Turn Off the Water Supply:
- Before beginning any repair work, it's essential to cut off the water supply to the bathtub. Locate the shut-off valves typically found under the sink or near the bathtub. Turn the valves clockwise to shut off the water flow. Once the water supply is turned off, open the faucet to relieve any remaining water pressure and drain the pipes completely.
Remove the Faucet Handle:
- Using a screwdriver or Allen wrench, locate and remove the screw or set screw that secures the faucet handle in place. This screw is often concealed beneath a decorative cap or cover, so you may need to pry it off gently. Once the screw is removed, carefully pull the handle away from the faucet to expose the internal components. Take care not to force the handle to avoid damaging it during removal.
Inspect and Replace Worn-Out Parts:
- With the faucet handle removed, inspect the internal components, including the washers, O-rings, and valve seats, for signs of wear, deterioration, or damage. Worn-out or damaged parts are common culprits behind leaky bathtub faucets and will need to be replaced to stop the leak. Take note of the size, shape, and type of replacement parts required before proceeding with the repair.
Replace Washers and O-rings:
- If the leak is attributed to worn-out washers or O-rings, carefully remove the old components and replace them with new ones of the same size and type. Apply a thin layer of plumber's grease to the new washers and O-rings to facilitate smooth operation and create a watertight seal. Proper lubrication helps prevent friction and prolongs the lifespan of the replacement parts.
Clean and Replace Valve Seats:
- If replacing the washers and O-rings doesn't resolve the leak, the issue may lie with the valve seats. Inspect the valve seats for corrosion, pitting, or damage. Use a valve seat wrench to remove the old valve seats and replace them with new ones. Before installing the new valve seats, thoroughly clean the valve seat area to remove any debris or buildup that could compromise the seal.
Reassemble the Faucet:
- Once all necessary repairs have been completed, carefully reassemble the faucet in the reverse order of disassembly. Ensure that all screws, connections, and components are tightened securely to prevent future leaks. Take care not to over-tighten screws, as this can cause damage to the faucet or its internal components.
Test the Faucet:
- Turn the water supply back on and test the faucet to verify that the leak has been successfully repaired. Slowly turn the faucet handle to allow water to flow and check for any signs of dripping or leakage. If the faucet operates smoothly and no leaks are detected, the repair has been successful. If leaks persist, recheck the components for proper installation and tightness, and make any necessary adjustments as needed.
Repairing a leaky bathtub faucet is a manageable DIY task that can save you time and money. By following the steps outlined in this expert guide, you can diagnose and repair a leaky bathtub faucet with confidence. If you encounter any challenges or are unsure about any steps in the process, don't hesitate to contact a professional plumber for assistance. A
professional plumbing repair is more suitable and beneficial in the long run. Do not hesitate to contact Sunshine Plumbers to get the
best plumbing team to assist you.