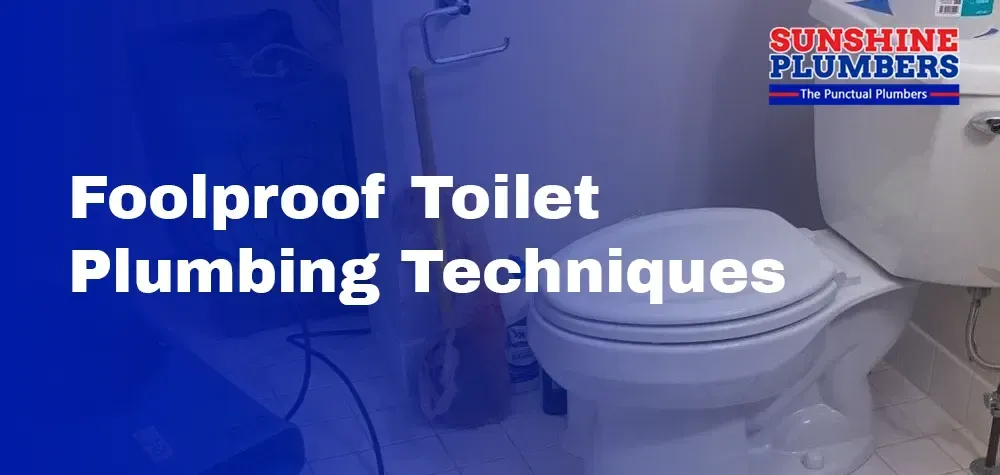
Step-by-Step: Foolproof Toilet Plumbing Techniques
Embarking on a toilet plumbing project can be a daunting task, especially if you're unfamiliar with the intricacies of the process. Fear not! In this comprehensive guide, we will unravel the mysteries of toilet plumbing, providing foolproof, step-by-step techniques to help you confidently tackle this essential home improvement task. Whether you're a seasoned DIY enthusiast or a plumbing novice, our expert insights are designed to ensure your toilet installation is not only successful but also stands the test of time. Let's delve into the critical steps that will elevate your plumbing skills and guarantee a trouble-free toilet for years to come.
Gather Your Tools and Materials
- Wrench: Begin with a reliable adjustable wrench. This versatile tool will be your right hand throughout the installation, providing the necessary grip to tighten and secure various nuts and bolts.
- Plunger: An often-overlooked yet indispensable item, a plunger can be a lifesaver for addressing minor clogs or ensuring smooth drainage during the installation process.
- Screwdriver Set: Invest in a quality set of screwdrivers, both flathead and Phillips. These will prove invaluable for securing screws, tightening bolts, and navigating various fasteners.
- Pipe Wrench: A pipe wrench is essential for handling threaded pipes and fittings. Its adjustable jaw provides a secure grip, making it indispensable for any plumbing undertaking.
- Bucket and Towels: Plumbing can get messy, and having a bucket and towels on hand will help manage spills and keep your work area clean and dry.
- Putty Knife: A putty knife is ideal for removing old wax rings and adhesive residues, ensuring a clean and smooth surface for your new toilet installation.
- Level: Achieving a level installation is crucial for a properly functioning toilet. A bubble or laser level will help you confirm that your toilet is not only secure but also perfectly aligned.
- Measuring Tape: Precision is key in plumbing, and a measuring tape will aid you in ensuring accurate distances and alignments, particularly when marking the location for your new fixture.
- Toilet Auger: While minor clogs can often be addressed with a plunger, a toilet auger becomes invaluable for tackling more stubborn blockages within the toilet's trap or drainpipe.
- High-Quality Wax Ring: The unsung hero of toilet installation, a high-quality wax ring provides a watertight seal between the toilet and the drainpipe, preventing leaks and ensuring a secure connection.
Remove the Old Toilet: Out with the Old, In with the New
Transitioning from an old toilet to a new one requires a delicate touch to ensure a smooth process without leaving a trail of damage or disorder. This phase of the project is akin to orchestrating a careful dance, and in this section, we will guide you through the art of gracefully bidding farewell to your existing toilet and preparing the stage for the arrival of its sparkling successor.
- Delicate Disassembly:
Begin with the delicate disassembly of the old fixtures, treating each component with the precision it deserves. Loosen and remove the bolts securing the toilet to the floor, taking care not to exert excessive force that could result in damage. Gently detach the water supply line, ensuring minimal spillage.
- Proper Disposal:
Once disassembled, it's crucial to address the proper disposal of the old toilet components. Navigate the intricacies of handling porcelain fixtures, which can be heavy and fragile. Consider local disposal regulations and guidelines to responsibly discard the old toilet.
- Preparing the Space:
Conduct a thorough cleaning to remove any residual wax, debris, or adhesive, ensuring a pristine foundation for the new installation. Inspect the flange – the critical connection point between the toilet and the drainpipe – to identify any signs of wear or damage that may need attention before introducing the new fixture.
Install the New Toilet: Bringing Your Bathroom to Life
With the groundwork meticulously laid, the pivotal moment arrives to breathe new life into your bathroom by installing the pristine fixture that will define the space. This section serves as your compass through the core of the operation – the installation of your new toilet. Our step-by-step instructions are crafted to be your guiding light, ushering you through each nuanced detail with precision and expertise.
- Aligning the Wax Ring:
The foundation of a watertight and secure toilet installation lies in the proper alignment of the wax ring. This crucial step ensures a seamless connection between the toilet and the drainpipe.
- Securing Bolts with Precision:
A secure and stable toilet is contingent on the precise securing of bolts. Whether utilizing traditional floor bolts or newer alternatives, understanding the intricacies of securing bolts is fundamental to the longevity and stability of your newly acquired plumbing fixture.
- Ensuring a Flawless, Watertight Seal:
Discover the nuances of properly compressing the wax ring, creating a barrier that withstands the test of time, and maintaining the hygiene and functionality of your bathroom.
Connect the Water Supply: Step-by-Step Instructions for Seamless Integration
Connecting your toilet to the water supply is critical in ensuring its optimal functionality. Follow these comprehensive instructions to unravel the mysteries and seamlessly integrate your toilet into the plumbing system, guaranteeing secure connections, leak prevention, and unimpeded water flow for efficient flushing.
Step 1: Gather Your Materials:
Before diving into the connection process, ensure you have the necessary materials:
- Flexible toilet water supply line
- Adjustable wrench
- Thread seal tape (plumber's tape)
- Towel or rag
Step 2: Shut Off the Water Supply:
Locate the shut-off valve usually located behind or beside the toilet. Turn it clockwise until it is fully closed to stop the water flow to the toilet.
Step 3: Remove the Old Water Supply Line (if applicable):
If replacing an existing toilet, use the adjustable wrench to disconnect the old water supply line from the toilet's fill valve. Place a towel or rag underneath to catch any residual water.
Step 4: Prepare the Toilet Fill Valve:
Inspect the threads on the toilet fill valve where the water supply line will be connected. Wrap a few layers of thread seal tape in a clockwise direction around the threads to ensure a tight and leak-free connection.
Step 5: Attach the Water Supply Line:
Connect one end of the flexible toilet water supply line to the toilet fill valve, ensuring it is threaded on securely by hand. Use the adjustable wrench to give it a final snug turn, but avoid over-tightening to prevent damage.
Step 6: Connect to the Shut-Off Valve:
Thread the other end of the water supply line onto the shut-off valve, again ensuring a secure connection. Use the adjustable wrench if needed, but be cautious not to over-tighten.
Step 7: Turn On the Water Supply:
Gradually turn the shut-off valve counterclockwise to reopen the water supply. Listen for any unusual sounds or hissing, which could indicate a leak. If there's a leak, tighten the connections slightly until it stops.
Step 8: Check for Leaks:
Inspect the entire connection, from the toilet fill valve to the shut-off valve, for any signs of leakage. Wipe away any excess water and re-tighten connections if necessary.
Step 9: Test the Toilet:
Flush the toilet and observe the water flow. Ensure there are no leaks during or after flushing. If everything is secure and dry, congratulations – you've successfully connected your toilet to the water supply.
Elevate Your Plumbing Experience with Sunshine Plumbers
As you embark on the journey of DIY plumbing solutions, we understand that certain challenges may extend beyond the realm of a home fix. When you encounter complexities or find yourself in need of professional expertise, look no further than Sunshine Plumbers. Our seasoned team of experienced and licensed plumbers stands ready to address many plumbing concerns, ensuring the longevity and efficiency of your plumbing system. With a commitment to excellence, we offer timely, reliable, and cost-effective solutions tailored to meet your specific needs. Whether it's a
persistent clog, a
leaky faucet, or a
more intricate plumbing issue, Sunshine Plumbers brings a wealth of experience and a dedication to customer satisfaction. By choosing us, you gain access to a team of professionals who prioritize the integrity of your plumbing infrastructure. Contact Sunshine Plumbers today and experience the peace of mind that comes with entrusting your plumbing needs to a team of experts dedicated to delivering exceptional service. Your home deserves the best, and Sunshine Plumbers is here to provide it.